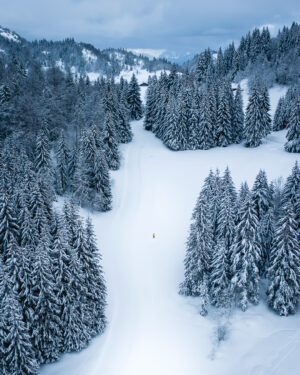
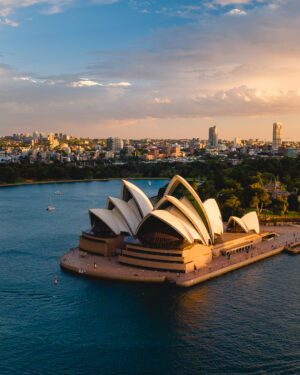
Have you always dreamt about drones? Are you jealous when you see those amazing aerial views and top-down shots. Well today I want to go over the things you really need in order to start drone photography yourself.
1. A drone
Well obviously the first step is buying a drone! Haha 🙂
Now there are a lot of different drones out there. Some are made for racing and air acrobacy, others are made for more technical or security tasks. If you want to get into drone photography, it’s important your drone is equipped with a good camera.
Now the reasoning behind this might be food for another blog post, but the drone I’m started out with is the DJI Mavic Air. It’s small, lightweight and has a decent enough camera to shoot those great photographs you see all over my website.

If you don’t really care about the small size or weight, you should get the DJI Mavic Pro 2, which came out only last summer and is THE BEST affordable photography drone on the market right now.

2. A smartphone
This might seem a bit weird at first, but the smartphone (android or iphone, doesn’t matter) will double as the livestream screen for your drone remote controller. Without a screen you can’t see where you are going, what composition you are shooting and you can’t use most of the functionalities.
You connect the smartphone to your remote controller before you take off and you see through the eyes of the drone via the screen of your smartphone.
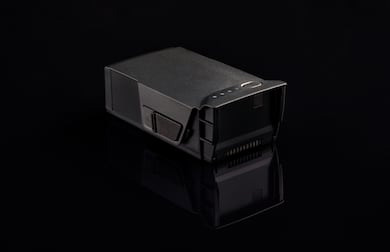
3. At least 3 drone batteries
As you will find out soon enough, your drone will drain your batteries faster than you can wipe your butt, so be prepared. I would recommend at least 3 batteries in total. Each battery will last for 20 minutes. However it will start draining as soon as you turn on your drone (you start to recalibrate and optimize the settings). So this means about 15 minutes maximum of air time.
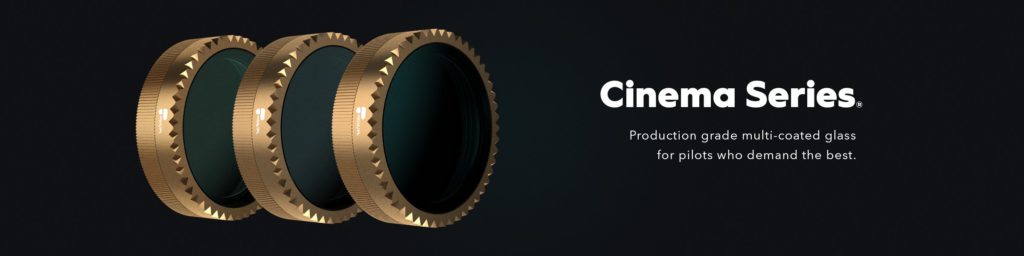
4. ND filters
Your drone is like a little kid, all eager to go out and play in the sun, but if you don’t put on some protection, he’ll come back crying afterwards.
You need a set of good ND filters to act as sunglasses for your drone. Even when it’s not even that sunny. If you don’t get the ND filters, then you’ll shoot with suboptimal settings or you will blow out the highlights in your photos right away.
Golden tip here: if your shadows are too dark, you can bring them back up afterwards. If you blow out your highlights, the information is gone forever.
I personally use the PolarPro ND filters (ND4 + ND 8 + ND16) which allow you to shoot in most conditions. PolarPro also has a cool app to help you decide what filters to use when and also at what time the golden hour is happening in your location.
5. Lightroom
This might not seem necessary in the beginning, but trust me. If you want to get some good shots, you’ll need some post-processing in Lightroom afterwards. This software by Adobe is like a magical playground for photographers. It allows you to adjust the curve, colours, brush up area’s, remove spots, and finetune that perfect sunset you captured.
Get my FREE eBook on 10 basic and easy steps in Lightroom to improve your drone photography!
And there is no shame in that. Every amazing shot you have seen before, has been edited to perfection in Lightroom.
The latest Lightroom version is available as a subscription, so you will always have the latest update etc …
There we go. Now you are all armed and ready to attack the sky and return with some magical aerial views of your own.
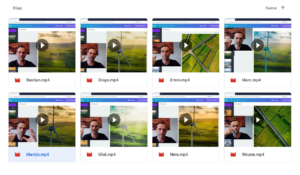
Go get some inspiration in my drone photography gallery.
Let me know in the comments if this article has helped you at all 😉