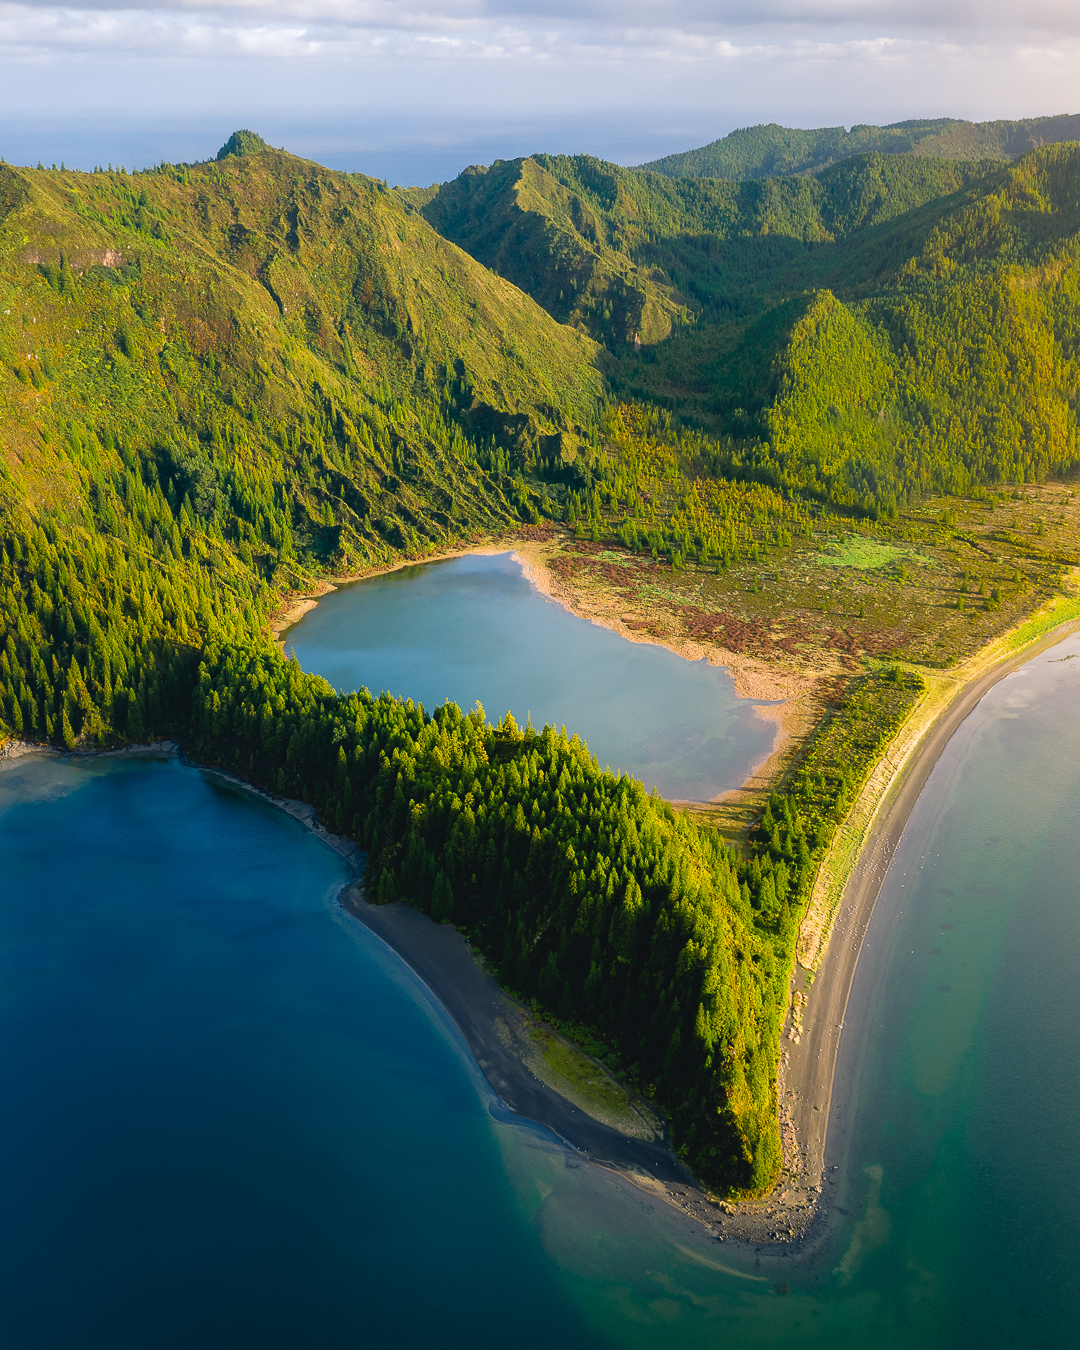
If you’re shooting for Instagram or if you know the end result will be cropped in portrait mode, you might want to consider shooting a vertical panorama with your drone.
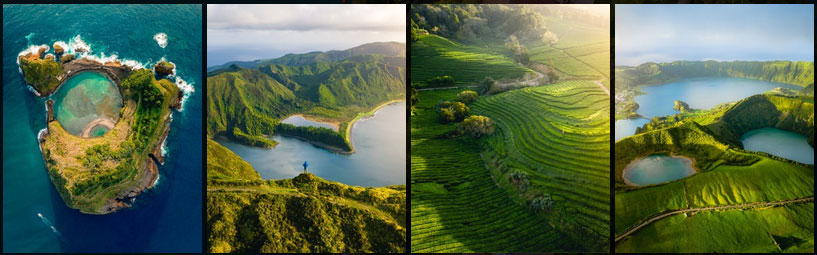
Even if you don’t use portrait mode today, I would recommend considering it for your drone photos. Most of the time it gives the photo more depth, especially if you are using some leading lines! And it forces you to think about your composition in a tighter way 💡
It’s all about the pixels
When you take a photo with your drone, because of the sensor size, the photo will be 4:3 landscape oriented. Which is great for wide landscape photos. However, if you regularly post on Instagram (which is mobile, so portrait oriented) or if your composition is just stronger in portrait mode, you’re forced to crop inside your drone photo to achieve this. As you understand, cropping will cut some parts off on the sides, leaving you with less pixels for your final photo 😕 Now depending on your drone-camera, you might have enough pixels in the initial photo to still make it work. For example, with the 20MP Hasselblad camera on the Mavic 2 Pro. However, if your drone only has 12MP to start with, your crop might turn out to be rather weak.
Shooting a vertical panorama with your drone will allow you to keep a maximum number of pixels inside your portrait crop. Which is ideal if you want to have the best possible quality or if you are thinking of printing your photos, to hang them on the wall for example.
Vertical panorama in the field
Now how do we go about this. It all starts in the field. When you are taking photos, you need to have your composition in mind already. When you find a photo that you know you’ll crop in portrait mode, that’s where you switch to vertical panorama. Before you open up the settings of your drone and search for some automated process, this has to be done manually! But don’t worry, it’s really easy 
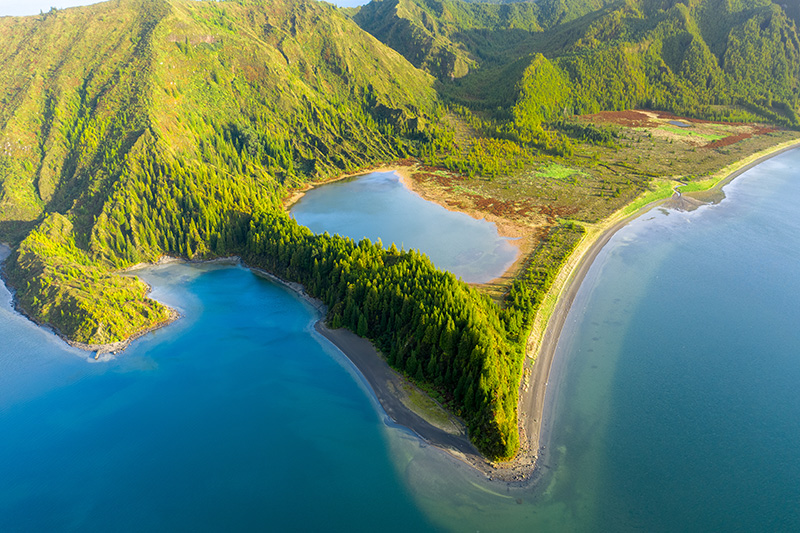
Bottom perspective 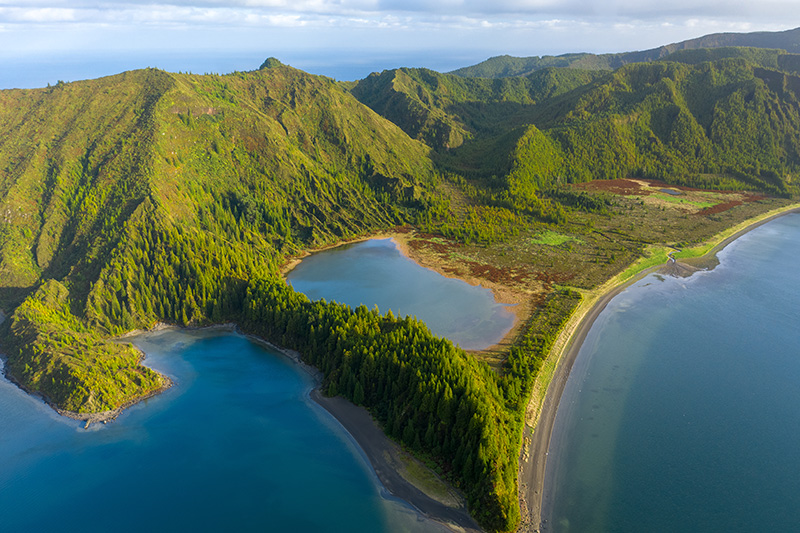
Top perspective
You basically tilt your gimbal down a bit to make sure you have the lower border of your composition in frame. Take the first photo. Then tilt the gimbal up a bit until you have the top border of your composition in frame and take the second photo. Make sure there is enough overlap between the 2 photos. If you need more information, add a third photo in between. Always ensure there is enough overlap on those different angles. We’ll need this information later on to be able to merge them together in Lightroom.
PRO tip: I always use the 5x AEB mode for my drone photos for more dynamic range. AEB = Automatic exposure bracketing. Which will automatically take 5 photos at slightly different exposures, which you can merge into one HDR photo in Lightroom.
Vertical panorama in Lightroom
Back home, you can move those 2 or 3 photos into Lightroom, select them all, right-click and merge them as panorama. The software will automatically detect the overlap – that’s why we needed this – and build your vertical drone panorama for you.
PRO tip: if you’re using the 5x AEB method, then HDR-merge your 2 or 3 photos first and then merge those newly created HDR photos as 1 big panorama.
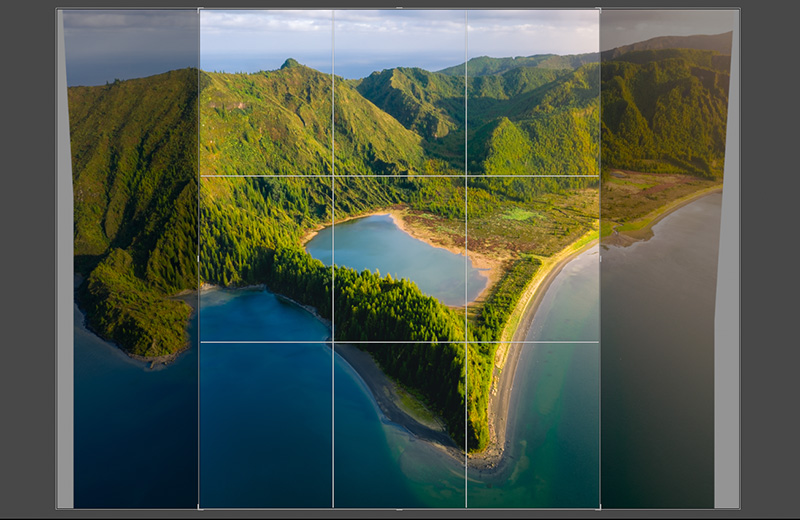
On the right you’ll see a couple of options. First of all, it’s easiest to check ‘auto-crop’ and ‘auto-settings’. This way you’ll see the end-result right away in the preview window. On the top right you can choose the projection. You can try the different options, but somehow, I always find the ‘Perspective’ one to work best for vertical panoramas.
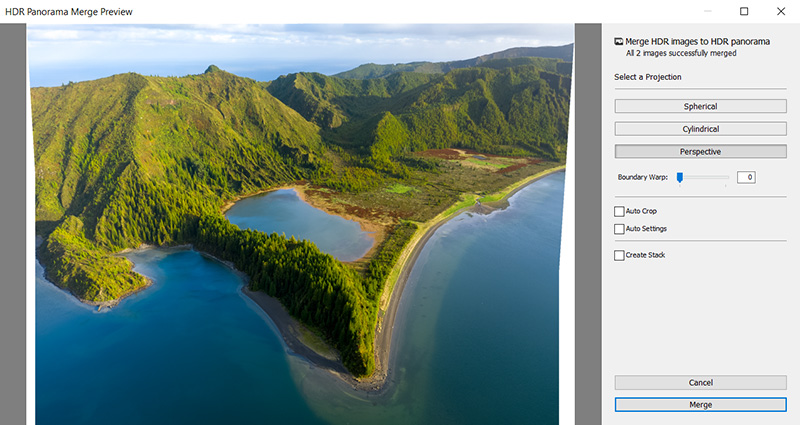
In my example you can see how Lightroom merges my 2 photos into 1 big photo. I have the auto-crop disabled, so you can see the white borders and how it constructs the image.
Now click merge to create your vertical panorama. Go to the develop tab to start editing your new HDR photo. Click on the crop overlay tool (R) to determine your portrait crop. For Instagram I always use the 4:5 ratio, but you can also use the 16:9 ratio for Instagram stories for example. If your crop is still in landscape orientation, just hit the key ‘X’ on your keyboard to rotate it to portrait. Now hit enter or click OK.
There we go! 😎
We now have a portrait image that is sharper, has more pixels (3.350×4.188 pixels in my case) and is better exposed. Perfect for high quality commissions or big prints. And if you applied my PRO tips as well, you’ll even end up with a wider dynamic range, meaning your bright sky and dark shadows will still have all the fine details ?

Don’t overdo it
Do watch out with this technique. Every time you move your gimbal, your perspective changes. So, don’t overdo it either. If you start from a 90 degrees topdown and tilt your gimbal up until you see the horizon, this will end up looking fake. As the perspective will really distort your image 😮
So, unless you know what you’re doing and you’re intentionally creating this effect, I would advise to only take 2 or 3 images with a big overlap, in order to create a good-looking vertical panorama with your drone.
Let me know if you have any questions in the comments below ❓
Do you want to take your drone skills to new heights? Do you want to learn how to take those amazing drone photos and cinematic videos? Check out my brand new Drone Adventurer Masterclass!