When thinking about composition for your drone photos, you want the shot to be as clean as possible. Of course reality isn’t always perfect and so often we need to clean up elements using the Spot Removal Tool.
Most people think you need to be a Photoshop expert in order to remove parts of your image. No, not at all! There is a neat tool in Lightroom, often undervalued by the ‘experts’, that I really use on a daily basis. I would say on 95% of my drone photos I have erased some small or big parts with the built-in Spot Removal Tool from Lightroom.
Use keyboard shortcut Q to quickly access the Spot Removal Tool
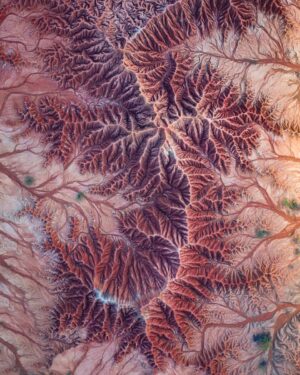
Now it takes a bit of practice of course, as with anything. But you can really achieve awesome results with this eraser. Let me give you a small example first: (slide right and left to see what I cleaned up)
[s201_bai id=”2″]
All of this was done using the built-in Spot Removal Tool.
How to clean up elements using the Spot Removal Tool
A few things you need to watch out for. When you open the Spot Removal Tool you’ll notice 2 circles. The inner circle is what you’ll erase. The outer circle shows you the feather that is being used. The higher you put the feather, the larger the blending area and thus the outer circle will be. If you still see parts of that stone you wanted to remove, chances are you didn’t make the inner circle big enough to cover that stone entirely.
I usually set my feather to 65% and my opacity is always on 100%
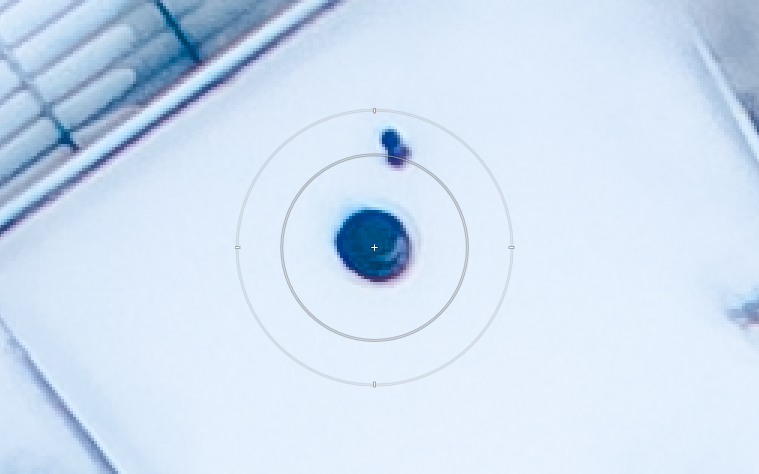
In the above example I zoomed in at 3:1 to see what I’m doing. The big round black spot is inside my inner circle and will thus be completely removed. The smaller black chimney-pipe is inside the feather area and will thus only be partially removed. So you either want to 1) enlarge your inner circle, or 2) click and drag the circle upwards, as if you were drawing with a pencil tool to include it as well, or 3) create a second spot to cover up the small chimney (yes, the spots can overlap, no problem).
Now if you’re not happy with the result, you can click the keyboard ‘/’ key to have Lightroom sample from a different area. If the suggested areas don’t work in your case, then simply adjust the circles manually until you find a good spot!
PRO tip: If you want to get rid of a straight object, like a high-voltage wire in the sky or an antenna pointing up, you can draw straight lines with the Spot Removal Tool as well. Just click once at the beginning of your line and then point your mouse towards the end of that line and hold keyboard shift + click. And voila, you have a perfectly straight line now!
Removing entire parts of your drone photos
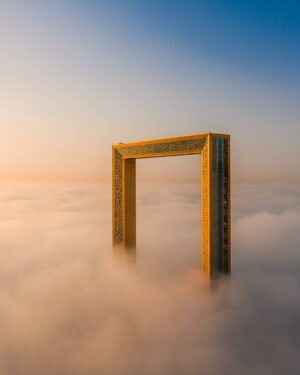
Now on to a more difficult example. In the below photo of the Basiliek in Brussels, there was a lot of rubble and even an entire construction site on the left. The photo did not look clean at all. So I decided to start working my magic with the Spot Removal Tool. I was able to remove the rubble on the right, the bus on the top road and parts of the construction site already. However there are limitations to what this tool can do. You need good areas to sample from.
And so in this case I decided to move the photo into Photoshop anyway. Simply click ‘Edit in’ in the Lightroom ‘Photo’ menu and then select ‘Photoshop’ to move your current photo into Photoshop without any quality loss. There I simply made a copy of the park-area on the right and mirrored it to the left. Some adjustments to make it blend in and voila. This is the final result:
[s201_bai id=”7″]
Looks so much better and cleaner like this right? ?
Want to learn more editing tricks, check out how I add lens flares to drone photos.
Want me to show you how it’s done? Consider a 1-to-1 coaching call with me 🙂