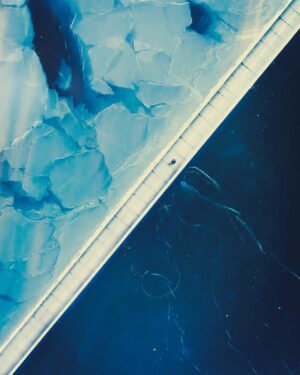
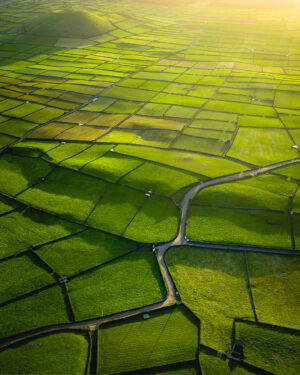
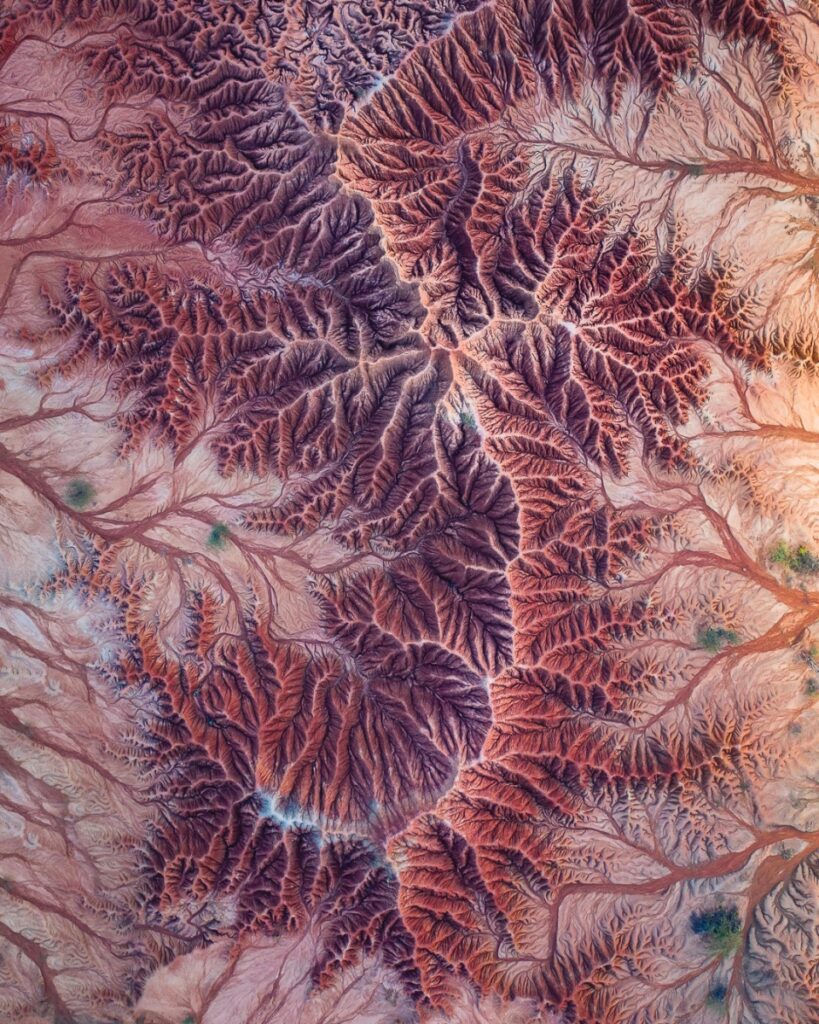
I’m going to show you how to export those razor sharp drone photos you see on my Instagram profile.
It took me a while to figure out the best settings, but not for you. You are getting them on a silver platter today ?
Here are the 2 steps in Lightroom:
1. Sharpening settings
First step is to go into Lightroom and open up the ‘Details’ tab under the ‘Develop’ panel.
The most important slider here is obviously the sharpening amount itself. I used to be afraid to use this and mostly had it around 40-something. However I have learned that you can push this one a lot further. Nowadays I use around 70-75 sharpening amount on my drone photos. This will give them a lot of fine detail.
Next up is the radius. I tend to increase this a bit to get more edge and put the radius on 1,2 instead of the standard 1,0.
I don’t touch detail, however the last one – Masking – is key to a professional end result. This slider dictates how much of your image should be sharpened. Because not all parts should be equally sharpened indeed. Put the masking slider around 50% for best results. This will eliminate for example big surfaces from being sharpened, which makes no sense anyway.
[s201_bai id=”5″]
PRO tip: hold keyboard ‘Alt’ while moving the sliders. This will show a sort of grayscale version of your image. Which makes it a lot easier to see your changes. Especially handy with the Masking slider. You’re welcome ?
Now compare the before and after. Already a massive difference, right?
2. Export settings for sharp drone photos
The second important step is during the export of your photo. In the export menu, open up the ‘output sharpening’ tab. Check the box and change the sharpening settings to: ‘Screen’ and ‘High’
Now export and be mind-blown by how razor-sharp your image looks on your screen compared to your old exports. Right? *Imaginary high-five* ?
Obviously you also need to change the filesize & resolution on your image export to optimize for Instagram (that might be for a future blog post). Otherwise the platform will re-compress your image again and you’ll lose all of that hard work with the click of a publish button ?
And remember, if you are exporting for printing purposes, you will need different settings as well. These are optimized for Instagram!
I hope you enjoyed this quick tip. If you did, feel free to show me your improved drone photos! I’m curious to see what you’re creating …
And check out why you should post in portrait format for Instagram.